LT 1.1 – Hosting and file management
Part 1
Since you will create your own website using HTML and CSS in this course, you will need to acquire your own hosting service. This part of the lesson task is mandatory.
You are free to choose any hosting service, but we recommend one.com. The monthly fee is low, and the beginner plan is sufficient.
Consider your domain name very carefully. This cannot be altered. You will be able to use this domain for future website projects. (You can, of course, sign up for other domain names and delete the one you have, but ‘getting it right the first time’ saves you a great deal of trouble.)
I chose to use my one.com account which I have been using since the start off last semester.
Part 2
The Norwegian Seafood Council wants to promote the health benefits of Norwegian salmon to the local and international markets. You need to create an informative website for this purpose. (This is a fictitious client and project).
Create very basic wireframes for the website, showing at least three pages. These can be low-tech wireframes that show planning for the page structure and navigation.
HOME
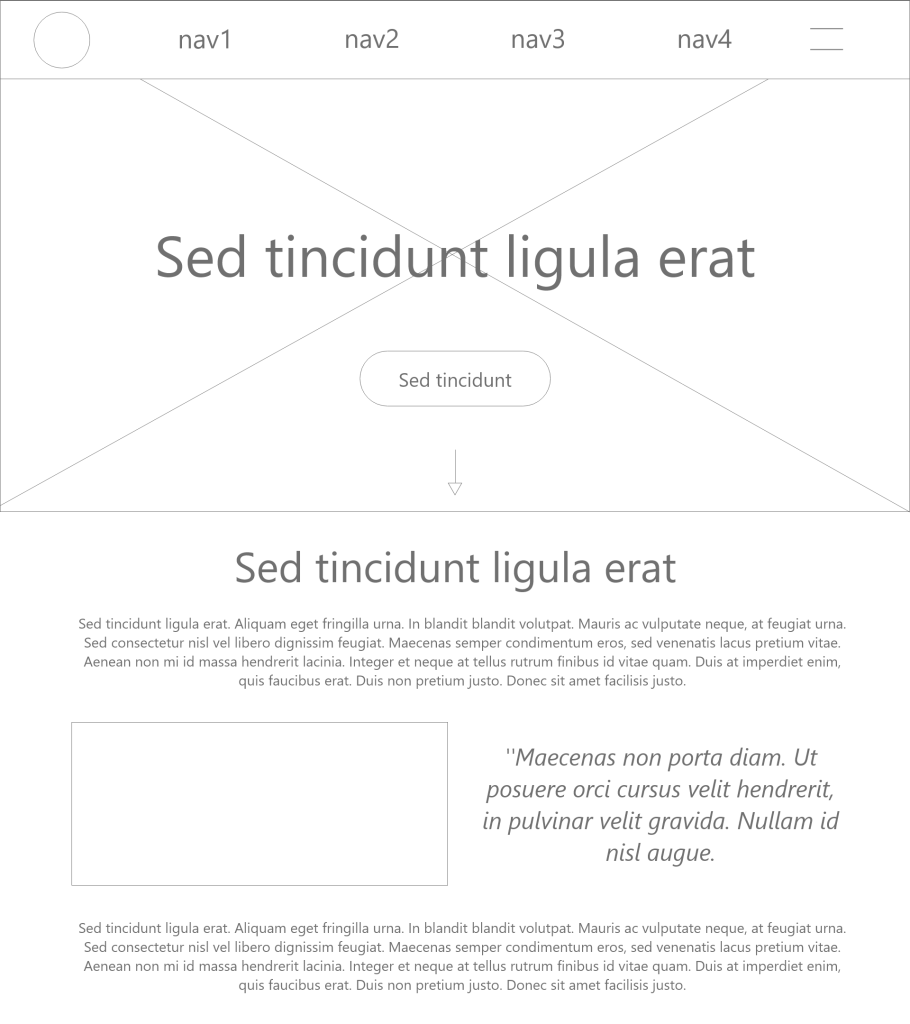
ABOUT US
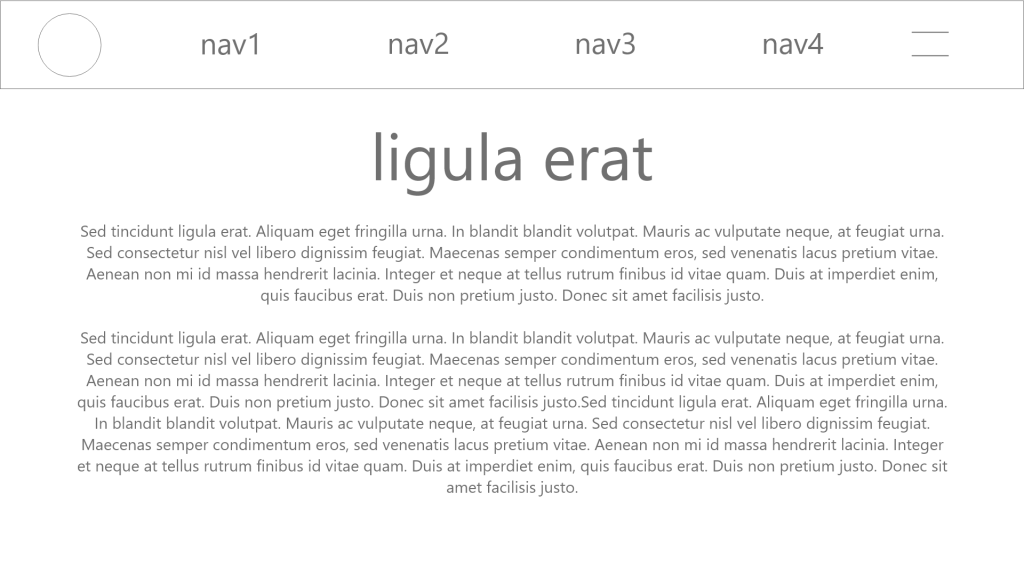
CONTACT

Part 3
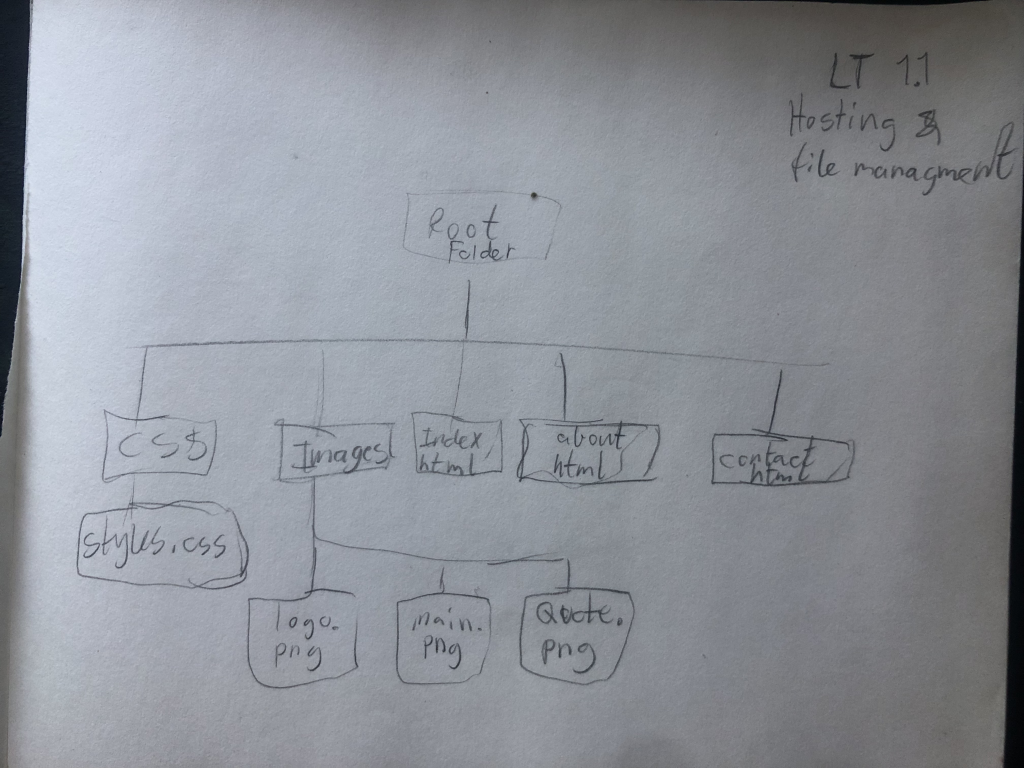
Create the structure for the HTML files and folders of the web page. Think about the root folder and name the folders correctly. Firstly, sketch out what the structure will look like. Then, set these up so you are ready to code your website.
Open Adobe Dreamweaver. Click on the ‘Create New’ button, and under ‘Document type’, choose HTML. Keep the ‘Framework’ as none since we will not use a Bootstrap framework. You can give the file a name, call it ‘home’ and the ‘Doc Type’ should be HTML5.
This will open a blank document in Dreamweaver. You will see a tab called ‘Untitled-1’ in the top left bar. This is because the file is not yet saved. Hit ‘save’ and save the file as Index.html in the correct folder of the folder structure you created. One HTML document called ‘index.html’ is enough for this LT.
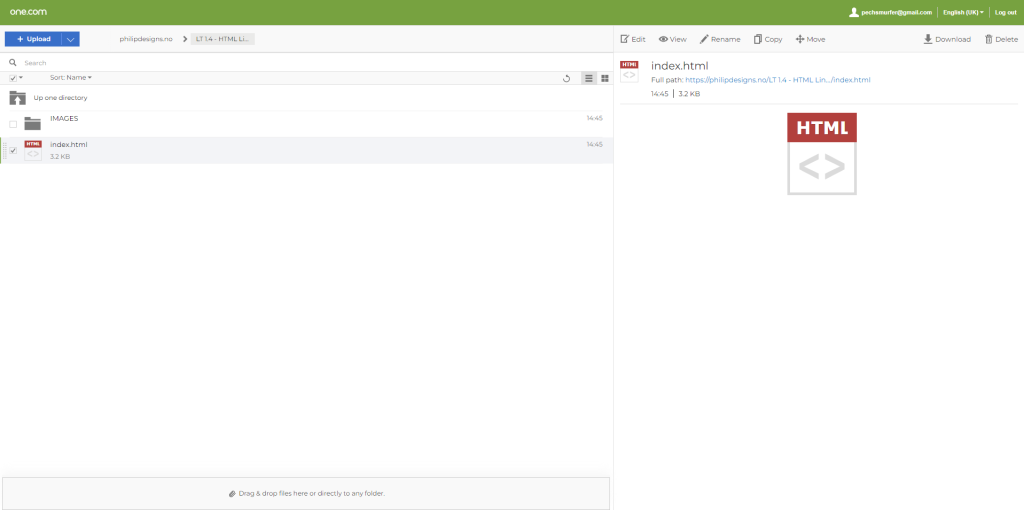
Remember, this structure should be set up so that it can be uploaded to a hosting server without disrupting the file paths. When you are done, take a screenshot of the folder and, together with the sketch of your structure, upload it to your WordPress blog.
Screenshots:

LT 1.2 – HTML Basics
Part 1
- In Adobe Dreamweaver, open up the index.html file you created in the previous lesson task. If you do not have one, then create a new document now.
- Ensure the HTML file is saved as index.html in the folder structure you created for the lesson task on planning the structure. Note that the tile of the page can be different from the file’s name. You always need to name at least one file index.html, as a browser will look for such a file to load first. It does not have to be your home page, but this is standard practice.
- Now, start adding some tags. It is perfectly fine if you don’t add any information between the opening and closing tags for now, just focus on the different tags that will make up the structure of the web page. Your HTML file should have the following content:
- <!DOCTYPE html> – this should be the first line in the document.
- <html>, <head> and <body> elements.
- Page title – note: the <title> element must sit within the <head> element.
- <header>, <main> and <footer> elements, these must sit within the <body> element.
Almost all of the elements you will use have opening and closing tags. Typical ‘newbie’ mistakes include forgetting to close your tags. Check your work!
Take a screenshot of the HTML-coded document to post to your blog.
Screenshot:
Part 2
You have created an HTML document with the following content:
- <!DOCTYPE html>
- <html>
- <head>
- <body>
- <title>
- <header>
- <main>
- <footer>
In one or two sentences, describe the function and meaning of each element and, where applicable, state in which parent element you are expected to find the element.
Descriptions:
<!DOCTYPE html>: This elements tells the browser what kind of document it is, which is a HTML.
<html>: This element is used as a parent for the whole document to make sure the browser knows what code is used to make up the content.
<head>: In this element all the code is for the back-side of things, containing metadata about the page which the viewer won’t see directly. This part is mostly for the computer to read.
<body>: Everything that is visible on the website will be within this element.
<title>: This element is used within the <head> element and will be shown on the tab in the browser when opening the page.
<header>: This element is within the <body> element and contains the navigation or generally whats on the top of the page.
<main>: This element is within the <body> element and contains all the main content in the middle of the page.
<footer>: This element is within the <body> element and contains all the content in the botton section of the page.
<meta>: Sits within the <head> tags. Its purpose is to contain information about the web page itself. This may include a description of the page, the author of the page, as well as keyword attributes for support of searches and determining whether the page will be cached in a web browser.
LT 1.3 – Semantic HTML
Part 1
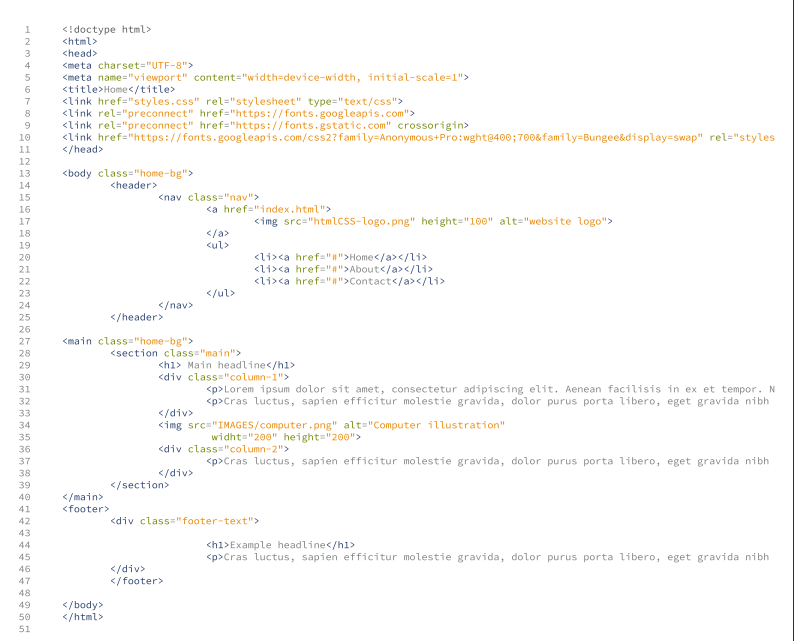
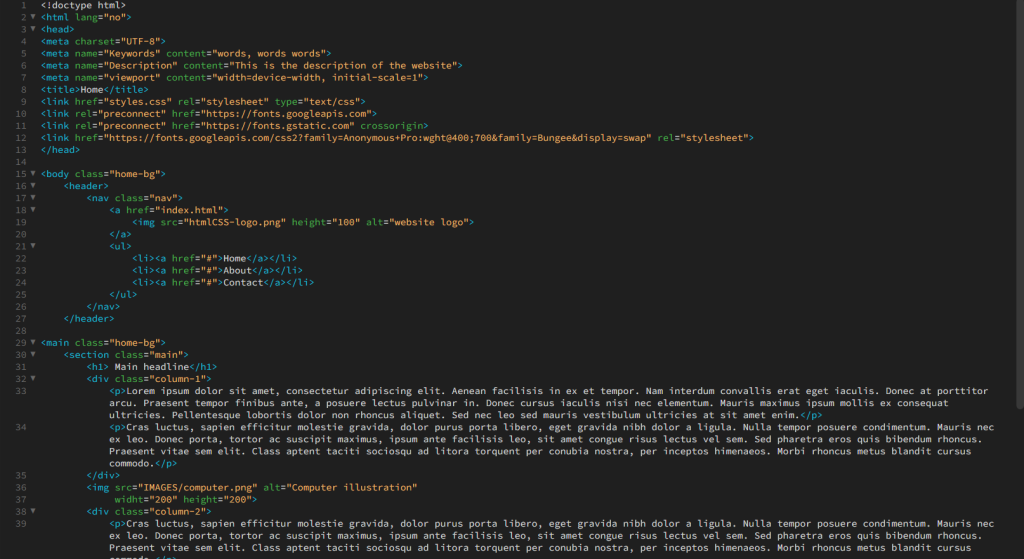
The following elements should now be added to the HTML document:
- <meta> element with some metadata – charset, description, keywords, author, viewport – note: must sit within the <head> element.
- Create a <ul> (unordered list) with <li> elements that will later form the navigation menu. (You are not required to style or link anything at this point, just list the menu items that will represent the links to the different pages of the website later). Think carefully about where you should place this list.
- Create at least two sections in the content using either <section>, <article> or <aside> elements that will hold the main content.
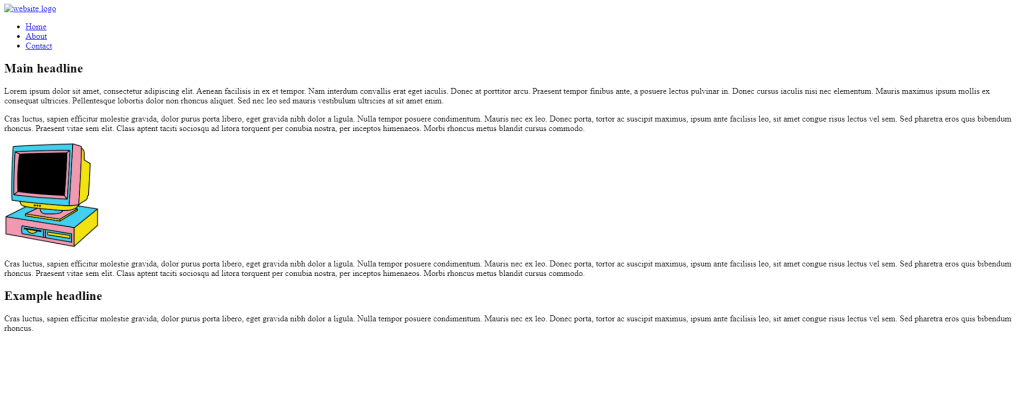
- Create at least one <h1> element and one <h2> element. Note how the <h1> and <h2> elements render as different sizes and as bold text.
- Create at least four <p> elements.
Screenshots:
LT 1.4 – HTML Links and Images
Question 1
Create the other HTML pages that you have planned for the web page. (This should include all the pages that are on your <ul>). Take note of where you are saving these files in your file structure.
Using the href=”” attribute and relative file paths, create links to each of the pages from the <ul> in the index.html document.
Populate each new HTML file with the same <ul> for navigation and at least a <h1> header to state the page’s title.
Screenshots:
Question 2
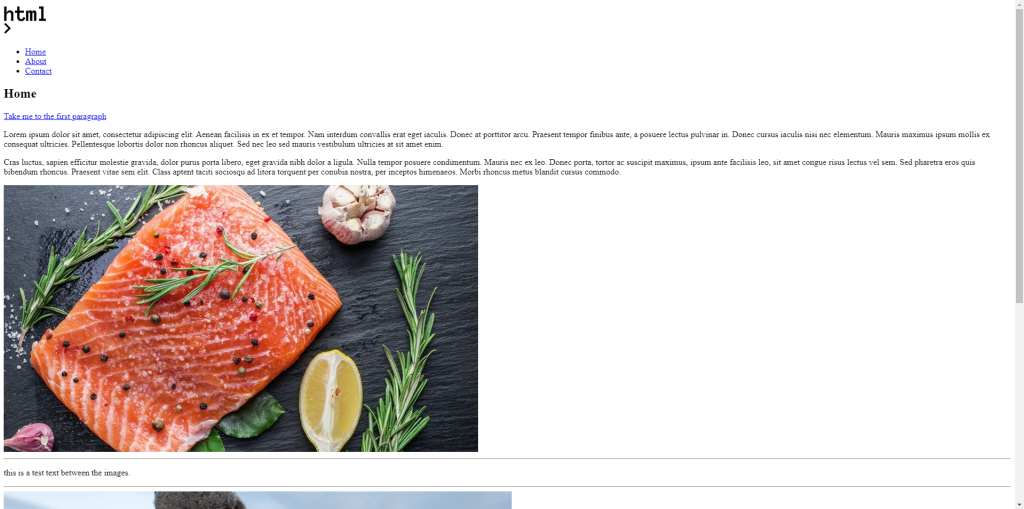
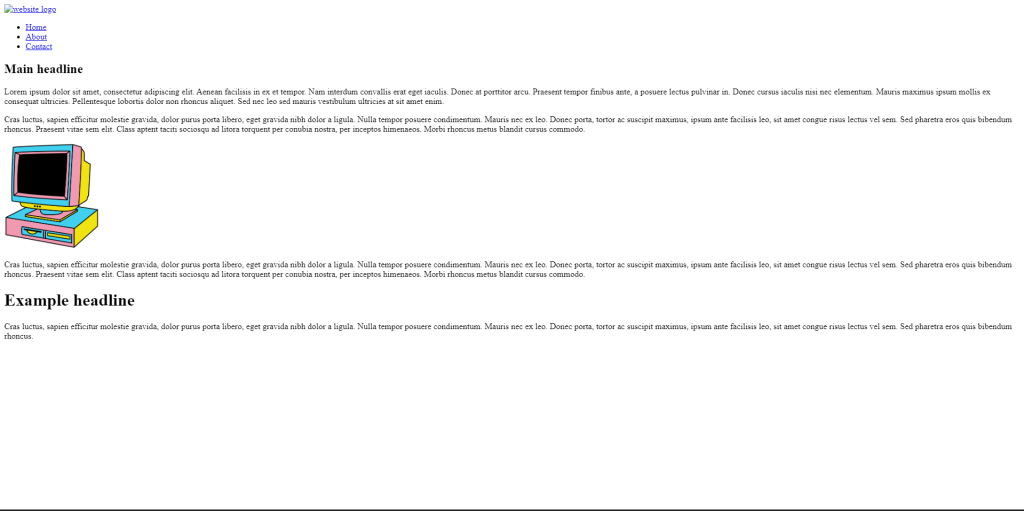
In your index.html document, add one image to one of the page <body> sections using a relative file path. Note that you need to take special care about where you put the image in the folder structure and how you link the ‘href’. Add text for the alt attribute. This should describe the image in some way in case the image is not displayed.
If you want, you can experiment by adding a width or height attribute to make the image fit inside the browser display.
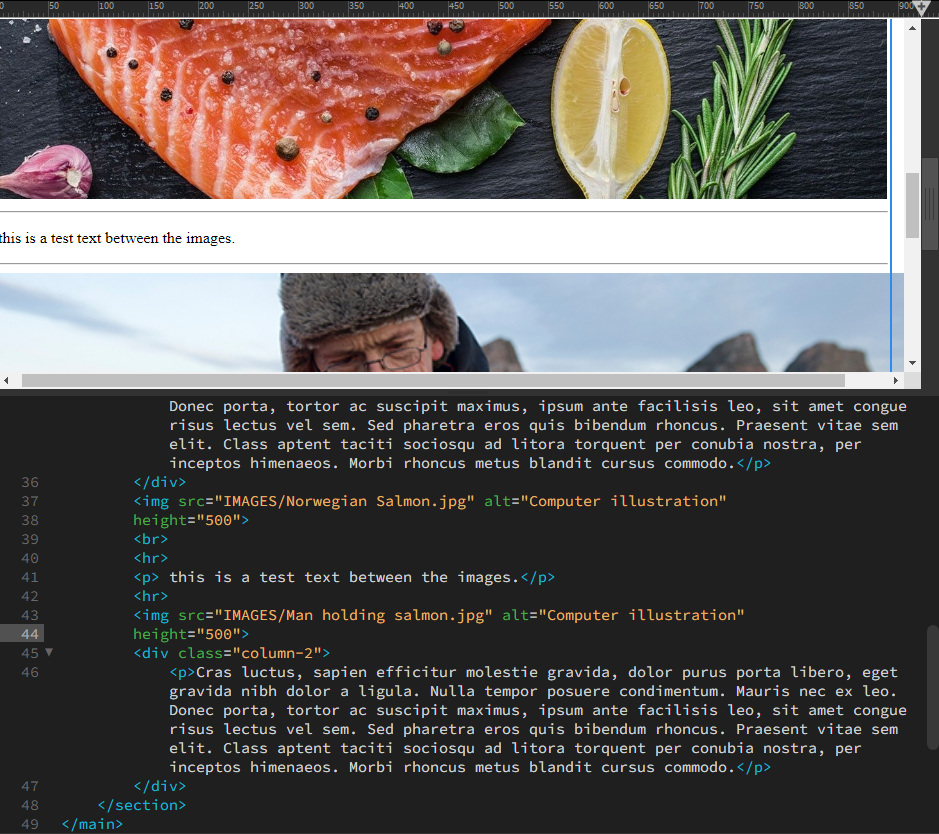
Add another image. Observe how the images are placed on the HTML page. Add a <br> element between the images to see how the layout changes. Add an <hr> element to insert a line break between the images. Finally, add a <p> element between the images.
Screenshots:
Question 3
Select the root folder containing your HTML and the ‘Images’ folder and upload it to your host using an FTP client. Once uploaded, check if the remote files work in your browser.
Check your page links in the live browser to see if it works properly. Check if the images display. If not, check your links and file locations.
The images displayed perfectly, and no problems were showing up.